Foot Pressure Sensor (INS039)
Installing, using, and cleaning the BrewWizz Foot Pressure Sensor, and choosing a foot pressure setpoint for packaging.
The BrewWizz Foot Pressure Sensor holds head space pressure more accurately during packaging and speeds up gas replacement, so packaging runs faster.
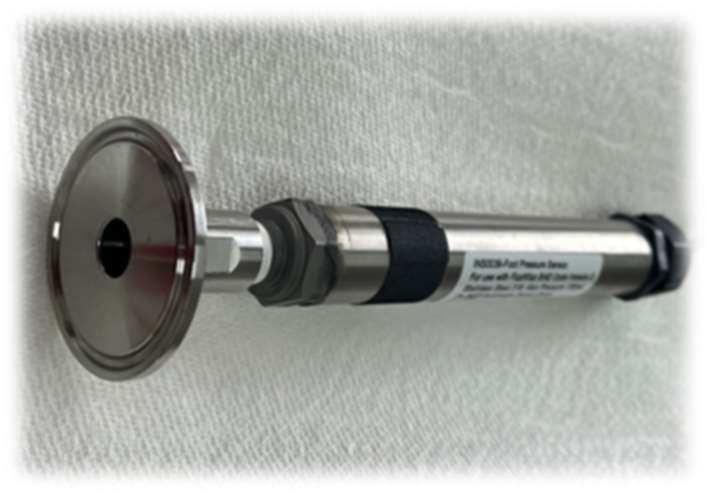
The Foot Pressure Sensor, with the tri-clamp process connection on the left and the cable connector on the right.
It can be installed in one of two locations:
- At the bottom (foot) of the brite tank (preferred). In this position the sensor reads the pressure the packaging line actually sees, so the pressure drop caused by hydrostatic pressure is eliminated and the packaging line gets a constant supply pressure.
- On the CIP arm.
For using the FizzWizz or PacWizz in packaging mode, see the FizzWizz or PacWizz user manual.
Compatibility
The Foot Pressure Sensor works with:
- PacWizz
- FizzWizz-BAE running V2 code or newer
If your FizzWizz-BAE is running earlier code, contact info@brewwizz.com about updating it.
Specifications
| Specification | Value |
|---|---|
| Part number | INS039 |
| Wetted and metal parts | 316 stainless steel |
| Maximum pressure | 100 psi |
| Process connection | Tri-clamp, installed on a tri-clamp tee |
| Ingress protection | Splash proof only (do not submerge) |
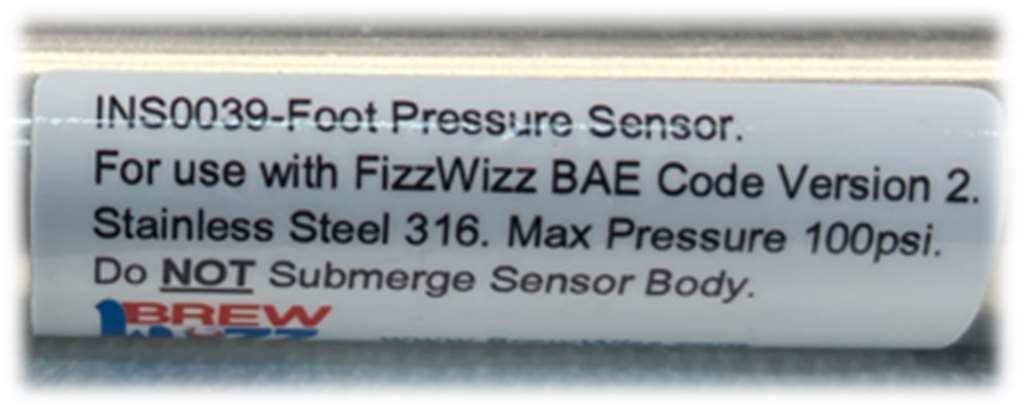
The sensor label, showing compatibility, material, maximum pressure, and the do-not-submerge warning.
Connecting the sensor
- FizzWizz: plug the sensor into the temperature sensor connector. The FizzWizz detects the connected sensor automatically.
- PacWizz: plug the sensor into the dedicated pressure sensor connector.
Switch box option (FizzWizz)
A FizzWizz uses the same connector for the temperature sensor and the Foot Pressure Sensor. The optional BrewWizz switch box sits between the FizzWizz and both sensors, so they can stay permanently connected and you select the active sensor with a toggle switch.
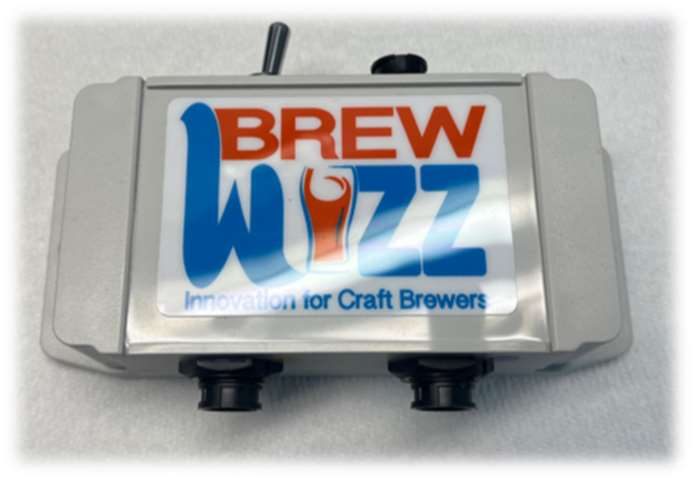
The switch box, with the toggle switch on top.
Installation
Both mounting locations need a tri-clamp tee fitting, with the sensor clamped to the branch of the tee.
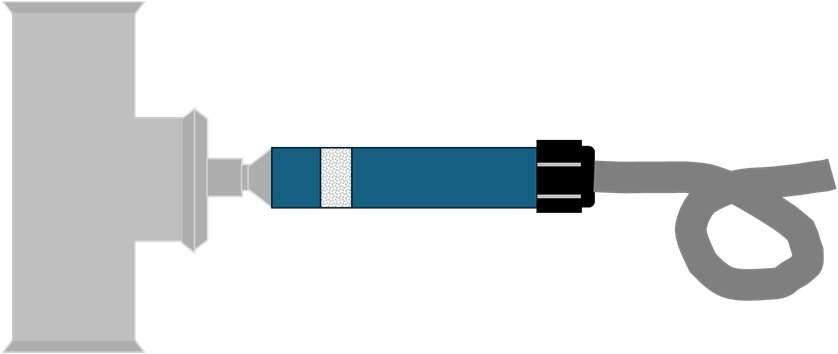
The sensor clamped to the branch of a tri-clamp tee.
At the foot of the brite tank
Install the tee between two isolation valves, one on each side of the sensor:
- Tank-side isolation valve, between the tank outlet and the sensor
- Packaging-side isolation valve, between the sensor and the packaging line
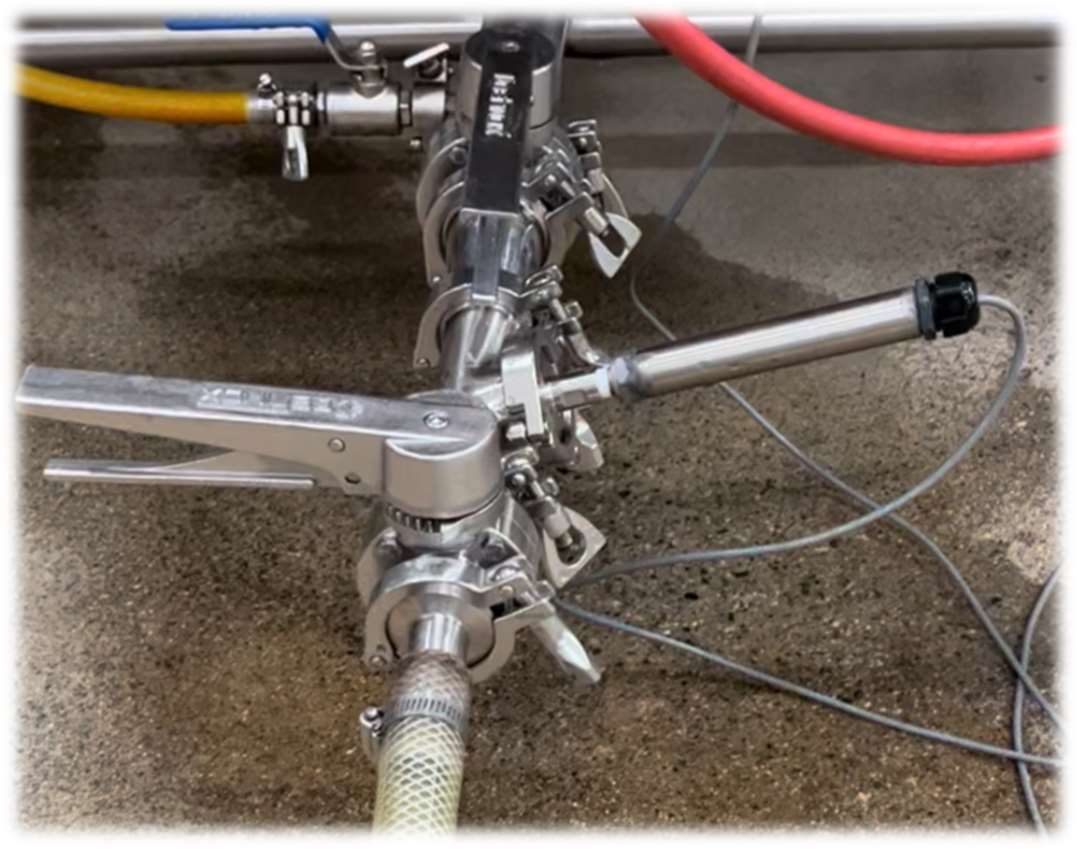
Sensor installed at the foot of a brite tank. The tank-side isolation valve (top) is open for initial pressurising; the packaging-side isolation valve (lever, bottom) leads to the packaging line.
Open the tank-side valve
With the packaging-side valve closed, open the tank-side isolation valve so the sensor reads tank pressure.
Pressurise the tank
Bring the brite tank up to the required foot pressure. See Choosing a foot pressure.
Start packaging
Once the tank has reached the required pressure, start the packaging line and open the packaging-side isolation valve.
Choosing a foot pressure
The sensor at the foot of the tank reads head space pressure plus the hydrostatic pressure of the product above it. Hydrostatic pressure is approximately 0.43 psi per foot of liquid for water. It varies slightly with the specific gravity of your product.
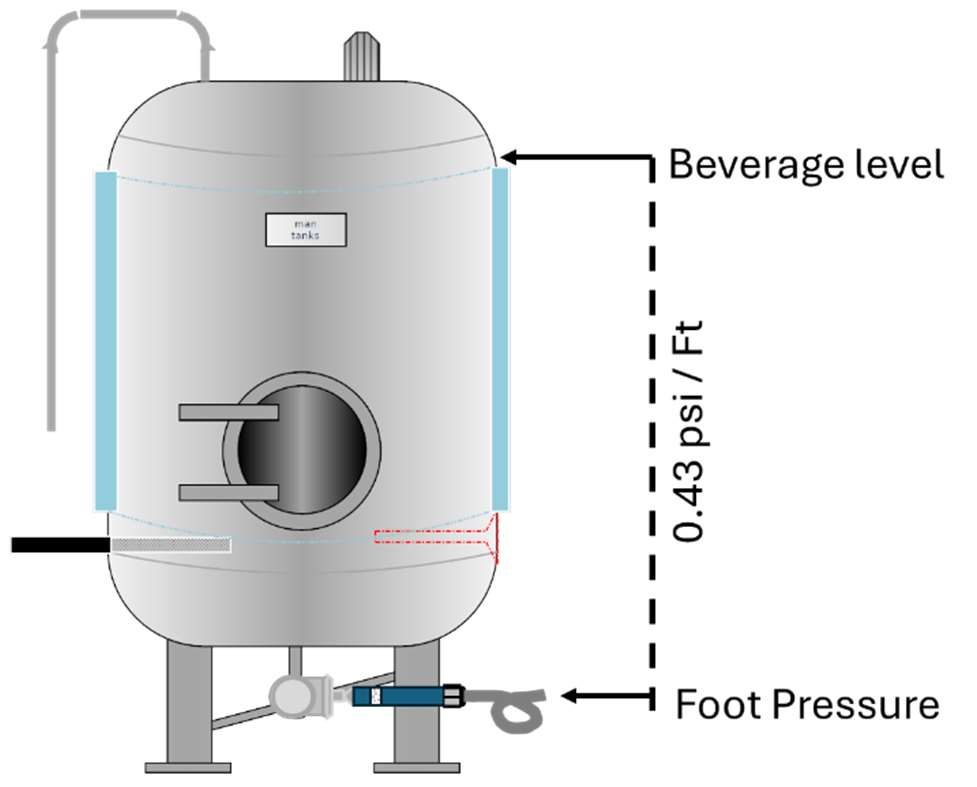
Hydrostatic pressure adds about 0.43 psi for every foot of beverage between the beverage level and the foot pressure sensor.
To keep head space pressure at or above the carbonation finish pressure, set the foot pressure to at least:
Minimum foot pressure = (product depth in ft × 0.43 psi) + finish pressure
Example
A product has a finish pressure of 10.5 psi once carbonation is complete, with 9 ft of product in the tank.
| Component | Value |
|---|---|
| Hydrostatic pressure (9 ft × 0.43 psi) | 3.87 psi |
| Finish pressure | 10.5 psi |
| Minimum foot pressure | 14.37 psi |
Why this matters
If head space pressure falls below the finish pressure during packaging, CO₂ starts to come out of solution. Once breakout starts, it tends to run away and is very difficult to stop.
If this happens, rest the brite tank for several hours with the FizzWizz in carbonation mode, so the CO₂ can re-dissolve at an appropriate equilibrium pressure. See Carbonation & Brite Pressure for related troubleshooting.
When the minimum is higher than the packaging line allows
Product temperature has a large effect on the pressure required.
In this example the packaging system needs 15 psi at the foot of the tank, but the finish pressure is 13 psi, with 9 ft of product:
| Component | Value |
|---|---|
| Hydrostatic pressure (9 ft × 0.43 psi) | 3.87 psi |
| Finish pressure | 13 psi |
| Minimum foot pressure | 16.87 psi |
The 16.87 psi minimum is about 2 psi above what the packaging line needs. To bring it down, cool the product by approximately 1 °C (1.8 °F) for every psi of excess pressure. Here that means cooling the product by about 2 °C (3.6 °F).
Cleaning
Clean only the tri-clamp face and the wetted sensing area at the process end. All metal parts are 316 stainless steel and can be cleaned with standard beverage cleaning products.