Solenoid Cleaning & Servicing
How to disassemble, clean, and reassemble a FizzWizz BAE solenoid that has been exposed to product.
If product has got into a FizzWizz BAE solenoid, the solenoid can be taken apart and cleaned. The process is fiddly, so you may prefer to buy a replacement solenoid from the BrewWizz online store.
The solenoids are factory sealed, and their long-term reliability can't be guaranteed after cleaning. Treat a cleaned solenoid as a temporary fix and plan to replace it.
These are dry poppet piston solenoids. Do not use any grease or lubricant.
Read through all of these instructions before you start.
What you need
- #1 Phillips (cross head) screwdriver
- A clean desk or work surface
- Hot soapy water
- A small brush and a clean rag
- Cotton swabs (Q-Tips)
- Paper towel
Solenoid parts
| Part | Description |
|---|---|
| Diaphragm assembly | Lower body of the solenoid, holding the rubber diaphragm in a circular recess |
| Rubber diaphragm | Sits in the recess in the diaphragm assembly and forms the seal |
| Piston assembly | Upper body of the solenoid, containing the piston housing and the electronics |
| Piston and spring | Slide into the piston housing, spring end out |
| Larger head screws | Fix the solenoid to the metal mounting plate (not fitted on the Head Transfer solenoid) |
| Smaller head screws | Hold the piston assembly to the diaphragm assembly |
Disassembly
Remove the solenoid
Remove the solenoid from the FizzWizz and place it on a clean work surface.
Remove the mounting plate screws
There are four screws on top of the solenoid. The two larger head screws hold the solenoid to the metal plate below it. Remove them if they are present. The Head Transfer solenoid does not have these screws.
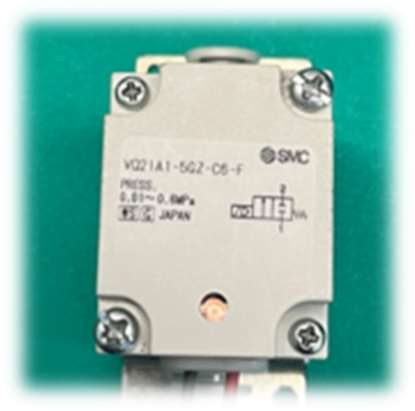
The larger head screws (here top right and bottom left) hold the solenoid to the metal plate.
Separate the piston and diaphragm assemblies
Remove the two smaller head screws, which hold the piston assembly to the diaphragm assembly. Lift the piston assembly off carefully: the piston and its spring are loose and can fall out and roll away.
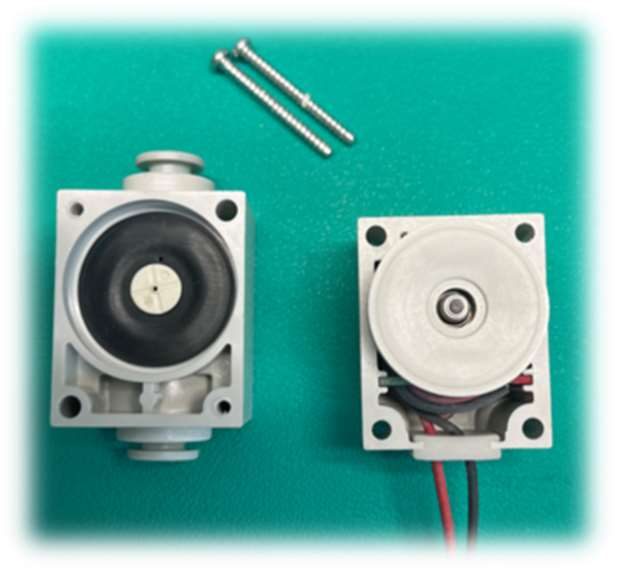
Diaphragm assembly (left) and piston assembly (right), with the two small screws removed.
Remove the diaphragm and piston
Take out the rubber diaphragm and the piston. Keep the spring somewhere safe.
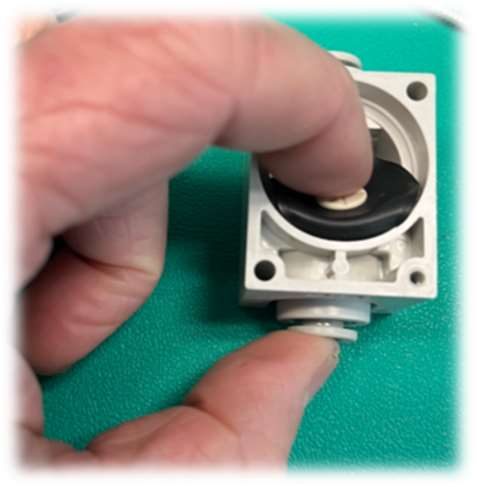
Lifting the rubber diaphragm out of the diaphragm assembly.
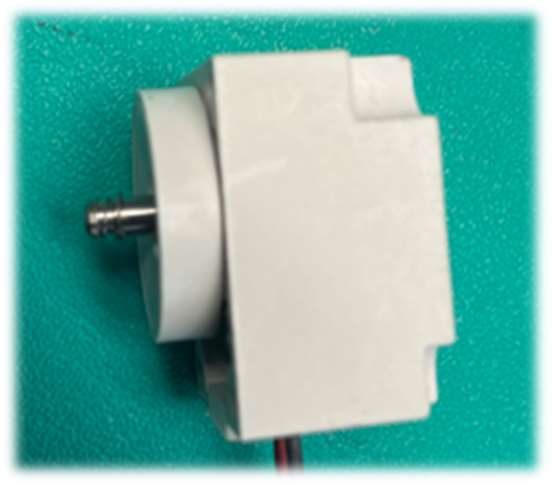
The piston protruding from the piston assembly, ready to slide out.
Cleaning
The piston assembly contains the electronics. Keep water out of the electronics area throughout cleaning, rinsing, and drying.
Clean the diaphragm assembly
Place the diaphragm assembly in hot soapy water and clean it with a brush.
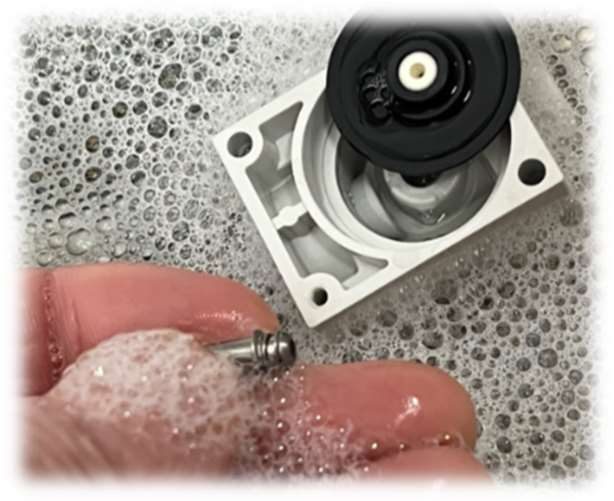
Diaphragm assembly and piston in hot soapy water.
Clean the diaphragm, piston, and spring
Place the rubber diaphragm and the piston with its spring in hot soapy water and clean them with a rag.
Clean the piston shaft hole
Clean inside the piston shaft hole of the piston assembly with a cotton swab and hot soapy water to remove any product. A standard Q-Tip fits the hole.
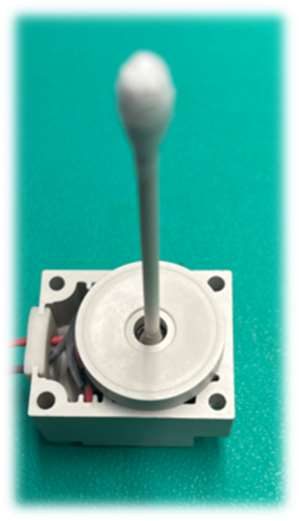
A cotton swab in the piston shaft hole. The electronics are at the side of the housing: keep them dry.
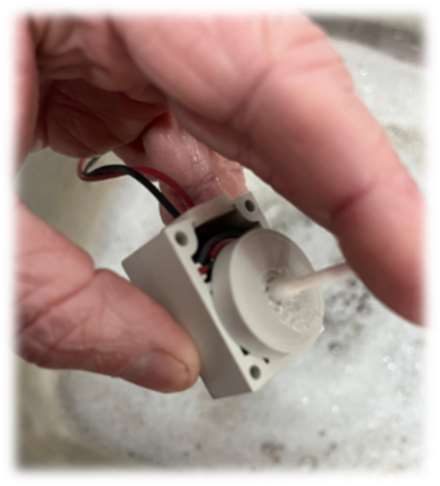
Cleaning the piston assembly while keeping the wired electronics end out of the water.
Rinse everything
Rinse all parts thoroughly to remove every trace of soap. Any soap residue will stop the piston actuating correctly.
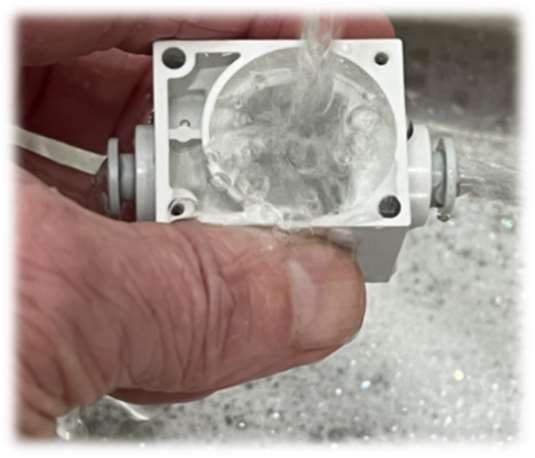
Rinsing the diaphragm assembly under clean water.
Dry completely
Dry all parts with paper towel, then leave them until they are completely dry. Any remaining moisture will stop the solenoid working correctly.
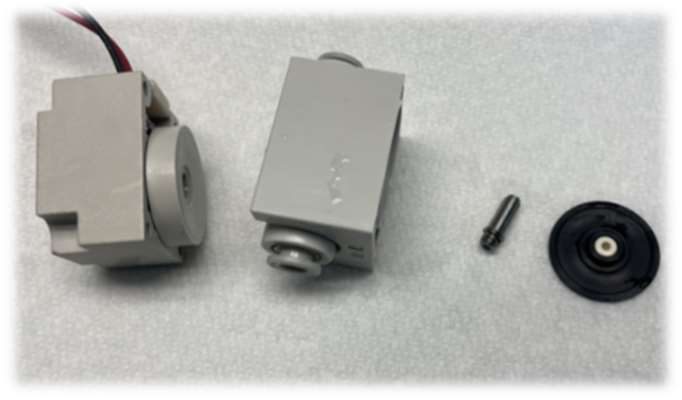
Piston assembly, diaphragm assembly, piston with spring, and rubber diaphragm laid out to dry.
Reassembly
Seat the diaphragm
Place the rubber diaphragm the correct way up in the circular recess of the diaphragm assembly. It must sit centred in the recess. A diaphragm that sits off to one side will not seal.
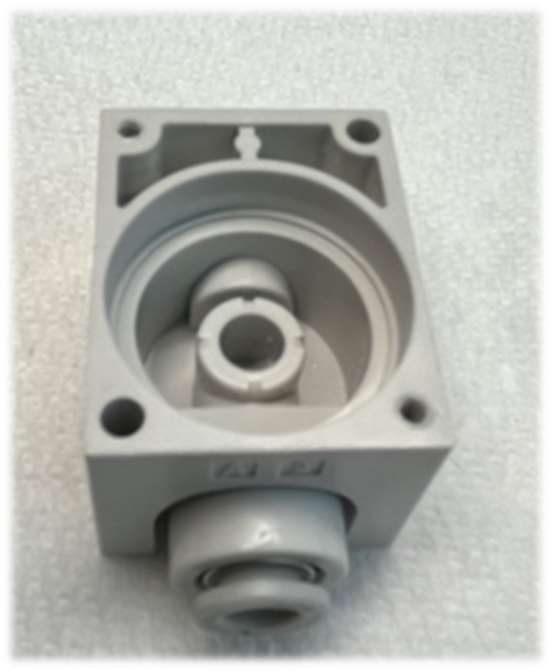
The circular recess in the diaphragm assembly.
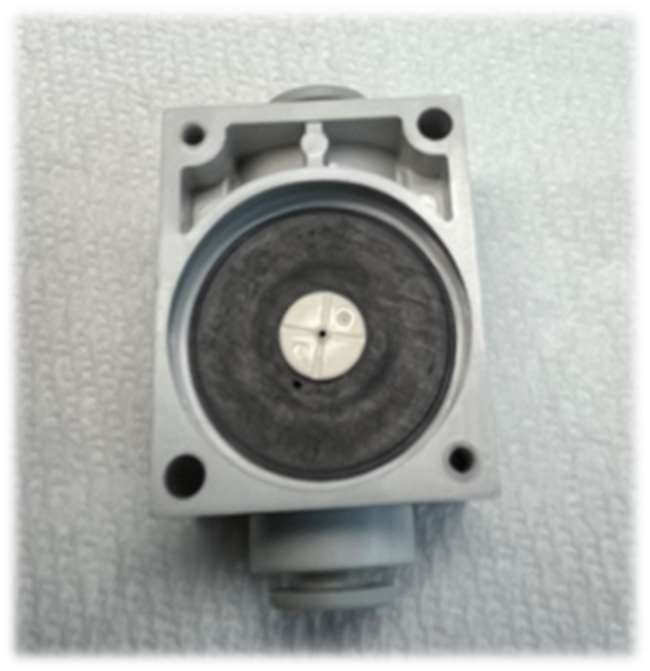
Correct: the diaphragm is seated in the middle of the recess.
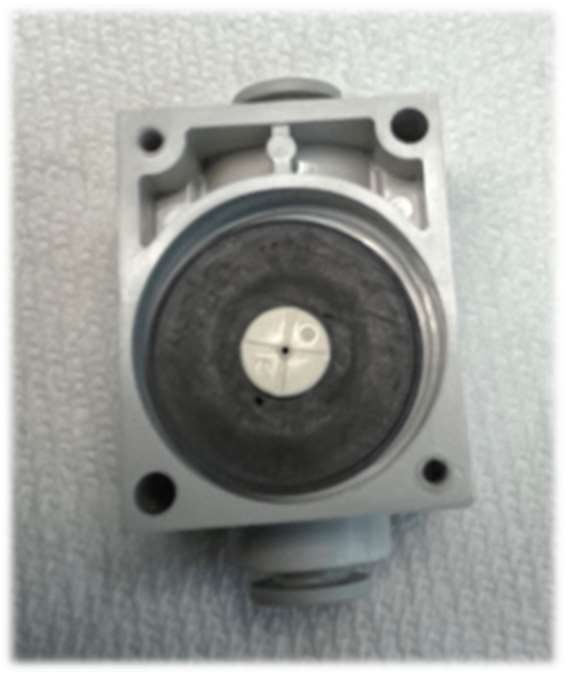
Incorrect: the diaphragm is off to one side and will not seal.
Insert the piston
Slide the piston back into the piston housing with the spring end sticking out.
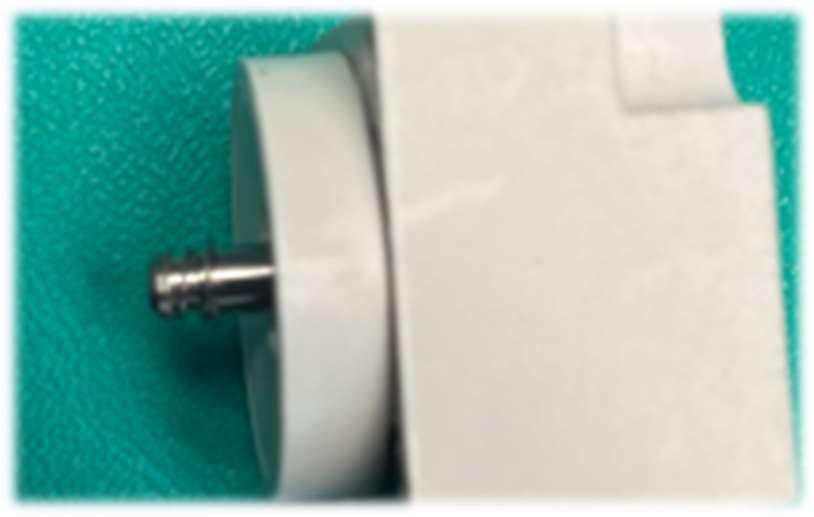
The piston refitted, with the spring end sticking out.
Join the two assemblies
Keep the diaphragm assembly flat on the work surface so the diaphragm stays in its recess. Turn the piston assembly over and quickly mate it to the diaphragm assembly so the piston doesn't fall out.
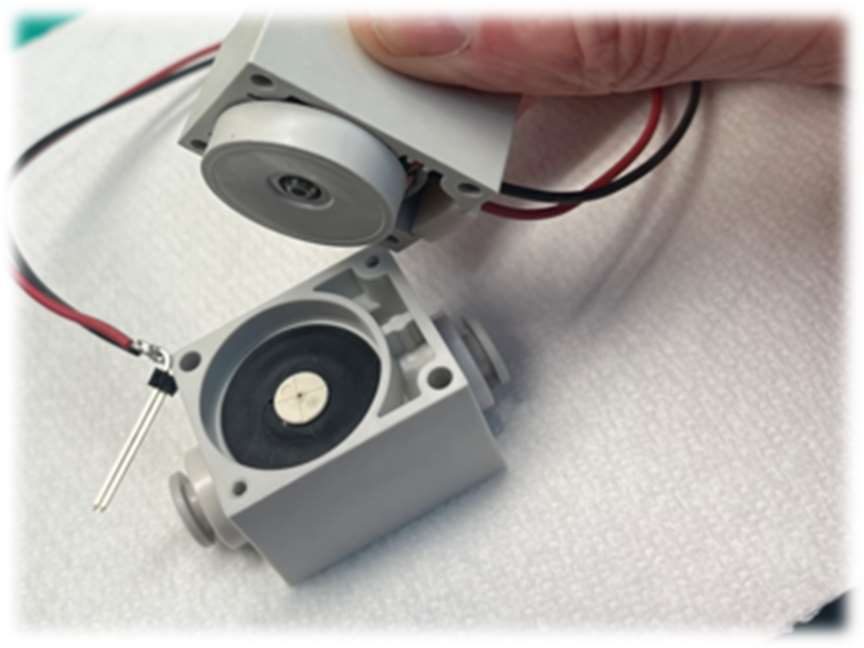
Turning the piston assembly over onto the diaphragm assembly.
Refit the small screws
Tighten the two smaller head screws. The threads are plastic, so don't overtighten and strip them.
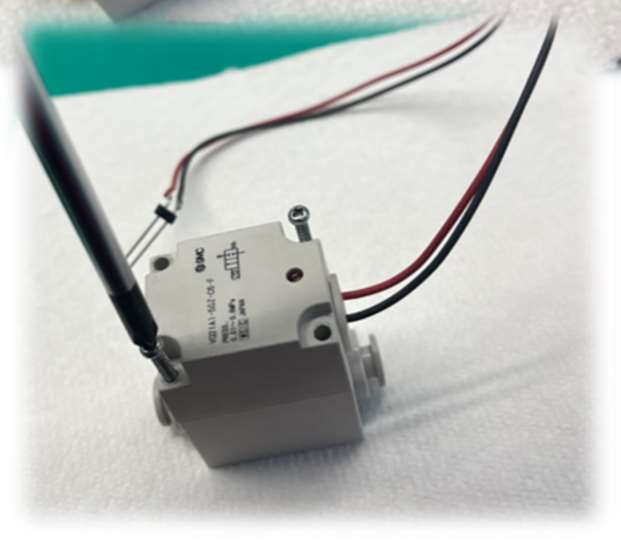
Refitting the two small head screws.
Refit the solenoid
Refit the solenoid to its metal plate with the larger head screws (if it had them) and reinstall it in the FizzWizz.
Run a full health check on the FizzWizz, and make sure it passes, before putting it back into use.
Replacement solenoids are available from BrewWizz. See Support & Parts.